The Database Registry
The database registry is a file on disk that manages a variety of options which control database operations. It gives you the ability to assign short alias names that can be used in place of complete database paths, and also allows you to configure the automatic searching features of EViews.
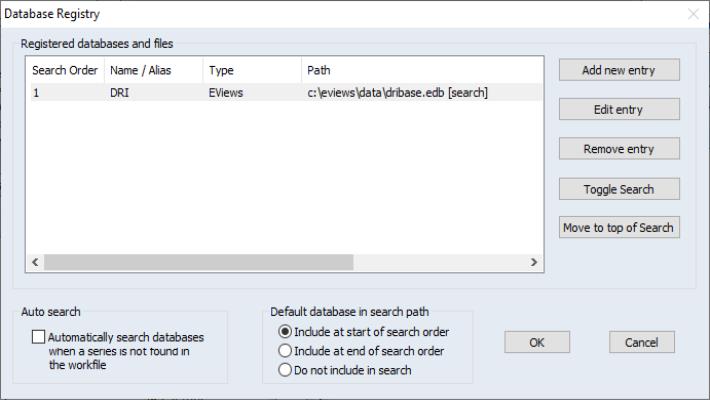
Selecting from the main menu brings up the dialog allowing you to view and edit the database registry:
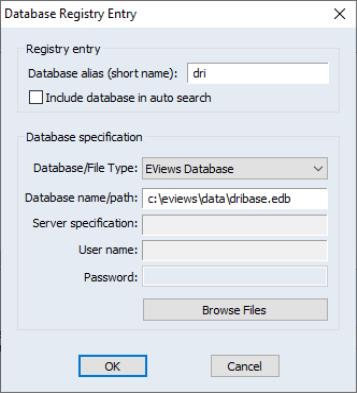
The box labeled Registry databases and files lists the databases that have been registered with EViews. The first time you bring up the dialog, the box will usually be empty. If you click on the Add new entry button, a dialog appears.
There are three things you must specify in the dialog: the full name (including path) of the database, the alias which you would like to associate with the database, and the option for whether you wish to include the database in automatic searches.
The full name and path of the database should be entered in the top edit field. Alternatively, click the Browse button to select your database interactively.
The next piece of information you must provide is a database alias: a short name that you can use in place of the full database path in EViews commands. The database alias will also be used by EViews to label database auto-series. For example, suppose you have a database named DRIBASIC located in the subdirectory C:\EVIEWS\DATA. The following regression command is legal but awkward:
equation eq1.ls c:\eviews\data\dribasic::gdp c c:\eviews\data\dribasic::gdp(-1)
Long database names such as these also cause output labels to truncate, making it difficult to see which series were used in a procedure.
By assigning full database path and name the alias DRI, we may employ the more readable command:
equation eq1.ls dri::gdp c dri::gdp(-1)
and the regression output will be labeled with the shorter names. To minimize the possibility of truncation, we recommend the use of short alias names if you intend to make use of database auto-series.
Click on OK to add your entry to the list.
Any registry entry may be edited, deleted, switched on or off for searching, or moved to the top of the search order by highlighting the entry in the list and clicking the appropriate button to the right of the list box.
The remainder of the dialog allows you to set options for automatic database searching. The Auto-search checkbox is used to control EViews behavior when you enter a command involving a series name which cannot be found in the current workfile. If this checkbox is selected, EViews will automatically search all databases that are registered for searching, before returning an error. If a series with the unrecognized name is found in any of the databases, EViews will create a database auto-series and continue with the procedure.
The last section of the dialog, Default database in search path, lets you specify how the default database is treated in automatic database searches. Normally, when performing an automatic search, EViews will search through the databases contained in the Registry Entries window in the order that is specified (provided that search has been toggled on for that database). These options allow you to assign a special role to the default database when performing a search.
• Include at start of search order—means that the current default database will be searched first, before searching the listed databases.
• Include at end of search order—means that the current default database will be searched last, after searching the listed databases.
• Do not include in search—means that the current default database will not be searched unless it is already one of the listed databases.
Note that including large or external databases in auto-search may lead to slow EViews operation when referencing variables not in the current workfile.