Using Commands
Commands may be used interactively or executed in batch mode.
Interactive Use
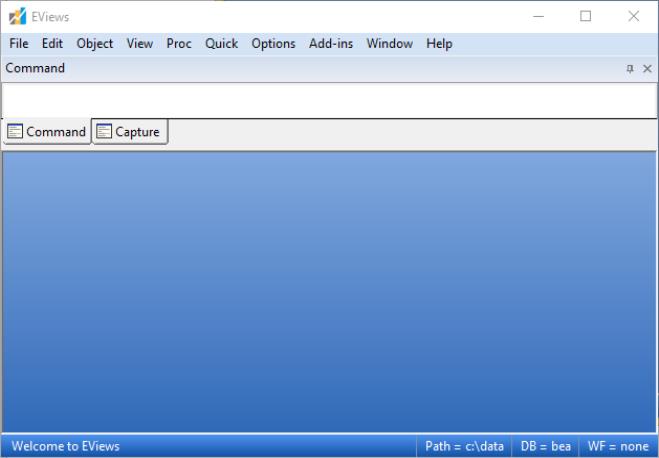
The command window is located (by default) just below the main menu bar at the top of the EViews window. A blinking insertion cursor in the command window indicates that keyboard focus is in the command window and that keystrokes will be entered in the window at the insertion point. If no insertion cursor is present, simply click in the command window to change the focus.
To work interactively, you will type a command into the command window, then press ENTER to execute the command. If you enter an incomplete command, EViews will open a dialog box prompting you for additional information.
A command that you enter in the window will be executed as soon as you press ENTER. The insertion point need not be at the end of the command line when you press ENTER. EViews will execute the entire line that contains the insertion point.
The contents of the command area may also be saved directly into a text file for later use. First make certain that the command window is active by clicking anywhere in the window, and then select from the main menu. EViews will prompt you to save an ASCII file in the default working directory (default name “commandlog.txt”) containing the entire contents of the command window.
Command Window Editing
When you enter a command, EViews will add it to the list of previously executed commands contained in the window. You can scroll up to an earlier command, edit it, and hit ENTER. The modified command will be executed. You may also use standard Windows copy-and-paste between the command window and any other window.
EViews offers a couple of specialized tools for displaying previous commands. First, to bring up previous commands in the order they were entered, press the Control key and the UP arrow (CTRL+UP). The last command will be entered into the command window. Holding down the CTRL key and pressing UP repeatedly will display the next prior commands. Repeat until the desired command is displayed.
To look at a history of commands, press the Control Key and the J key (CTRL+J). This key combination displays a history window containing the last 30 commands executed. Use the UP and DOWN arrows until the desired command is selected and then press the ENTER key to add it to the command window, or simply double click on the desired command. To close the history window without selecting a command, click elsewhere in the command window or press the Escape (ESC) key.
To execute the retrieved command, simply press ENTER again. You may first edit the command if you wish to do so.
You may resize the command window so that a larger number of previously executed commands are visible. Use the mouse to move the cursor to the bottom of the window, hold down the mouse button, and drag the bottom of the window downwards.
Command Explorer
The Command Explorer provides a quick way to display context specific documentation while working in EViews. In particular, you may use the explorer to list all of the applicable commands and data members for a specific object type, and to display documentation for those commands.
By default, EViews ships with the explorer window in a docked window on the right-hand side of your EViews window. To activate the explorer, simply click on the tab labeled .
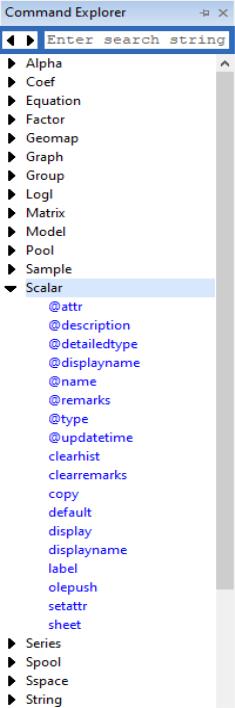
EViews will open a window showing a list of the EViews object types.
• Clicking on the name of an object type will open a documentation page for that object in a browser window.
• Clicking on the arrow to the left of the object name will toggle the display of alphabetical tree-listing of all of the commands, procs, and data members for that object. To open a browser window to the documentation of a given element, click on the name.
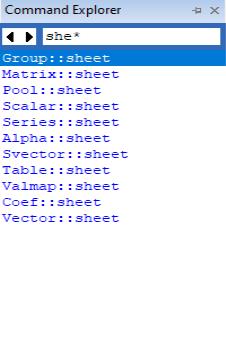
Alternately, from the open explorer window, you may use the search box to locate a specific command or proc.
if you already know the command name or a portion of the command name, you may search for the command by simply typing portion of that command followed by a wildcard (“*”) into the search window and pressing return. A list of matching commands will be displayed. Clicking on one of the results will display the corresponding help page.
Use the left and right arrows to the left of the search window to switch between the search results and the full list of commands.
By default, the Command Explorer window will automatically close when it loses focus. You may click on the push-pin in the upper right portion of the window to dock the open window. Click on the push-pin again to restore the docked window to auto-close.
Auto-Complete Names and Commands
You may instruct EViews to auto-complete the name of the object or object command you are in the middle of typing. This feature is particularly useful in workfiles with long series names or when issuing a series of commands. (Note that auto-complete is only enabled when there is a workfile open).
Object Name Auto-Complete
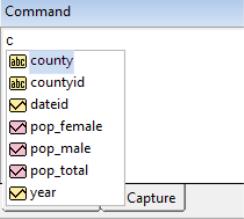
Assuming you have an open workfile, simply begin typing the first characters of the name of an object or command. Press CONTROL+SPACE to display a list of the objects in the current workfile.
Ne
If there are no ambiguities, the name of the object will be added to the command window. If there are ambiguities, a list of all the objects in the workfile will appear with the first match selected:
From here you can either press ENTER and the name of the object will be completed, or you may use the up and down arrows to select a name and press ENTER to complete your selection:
Alternately, you may press CONTROL+SPACE at any time when nothing has been typed, to see the full list of objects.
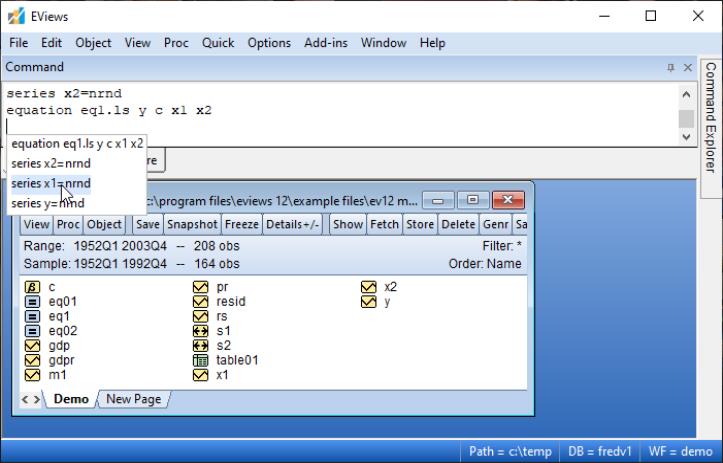
Object Command Auto-Complete
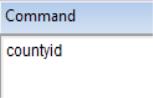
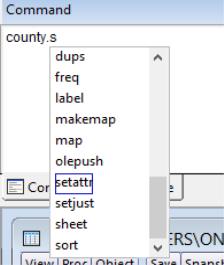
Similarly, you may use auto-completion for commands. If you have typed an object name along with a trailing period, press CONTROL+SPACE again to display the list of commands for that object. Assuming that object exists in your current workfile, EViews will list all the commands and procs for that object,
As with object name auto-complete, typing a portion of a command will add the full string if there are no ambiguities, or will display a list of applicable commands with the nearest match partially selected:
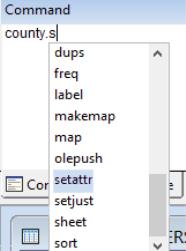
Using the arrow keys, select the desired command:
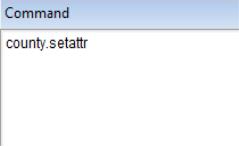
and press ENTER to add the command to the window:
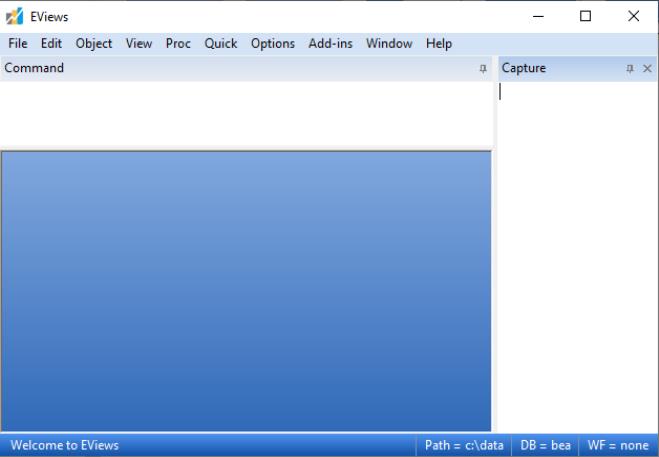
Command and Capture Window Docking
The EViews 14 command and capture windows are dockable, hideable, and floatable.
Dockable and hideable windows allow you to move frequently used windows out of the way while keeping them close at hand. They offer space saving convenience which is particularly valued when working with smaller screen devices like laptops.
Floatable windows allow you to move them out of the way of your work. You may even go so far as to float a window outside of the EViews frame.
To re-arrange the layout of the Command or Capture window, first make sure the window pane is not in sliding mode (the Pin icon should be so that it is vertical).
Then drag the window to the desired location or dock.
Note that it is possible to drag a window into an unwanted position where it covers a portion of a window with which you wish to work. In most cases, you may simply move the window out of the way. If it is difficult to drag the window because you cannot see the titlebar, you should be able use the scroll bars to gain easier access to the titlebar of the window.
Floating
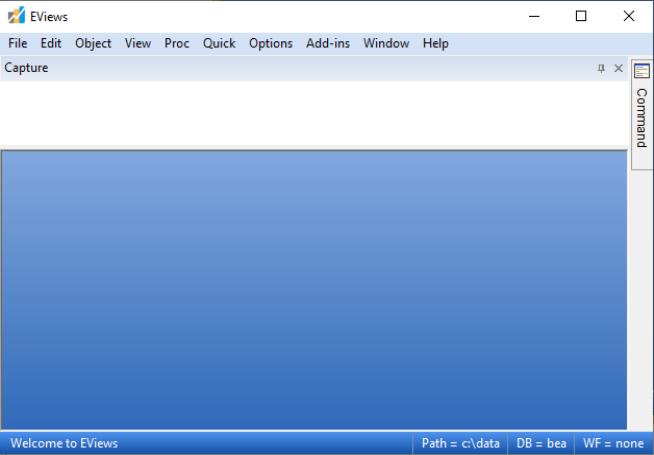
You can drag the window to a new location just like any other window in EViews. However, unlike other EViews windows, You can drag the command window outside of the EViews frame:
Docking
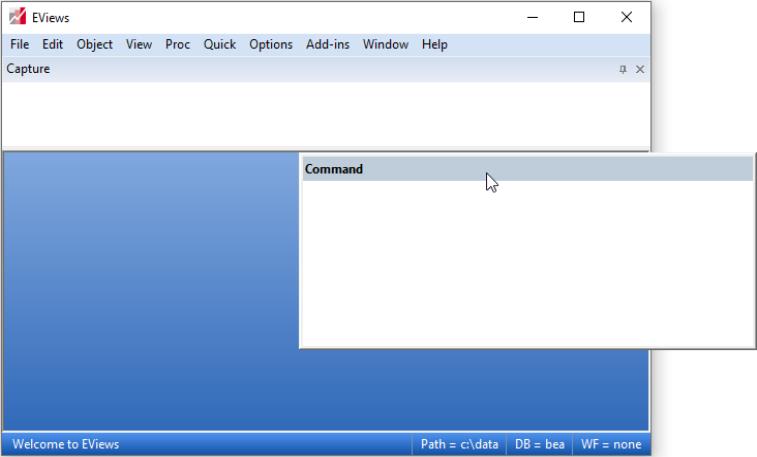
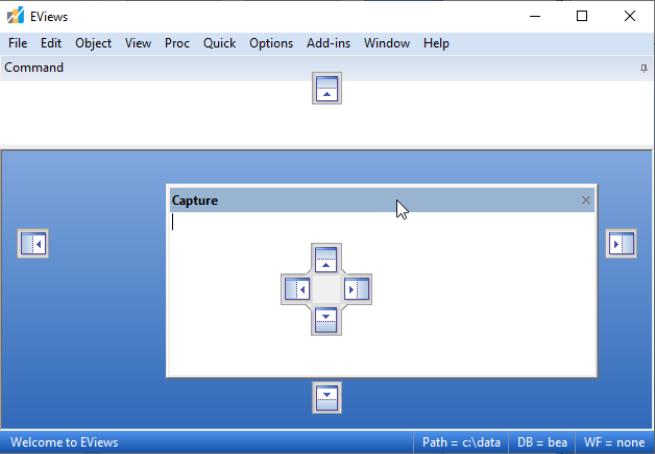
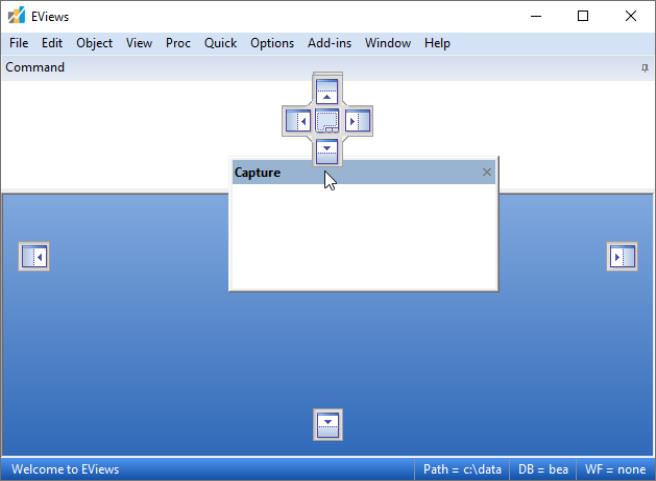
Both the command and capture window panes can now be docked on any side inside the main EViews window. Begin dragging the pane by left-clicking title bar and holding it down as you drag it off the edge. At that point, you will see small docking guides appear inside the main EViews window:
To dock the window, you will drag it to one of the docking guides. The docking behavior will depend on which guide you select.
The docking guides allow you to dock the window pane to one of eight pre-defined areas. The four guides on the outer edge of the main window allow you to dock the window as the primary pane while the inner guides allow you to dock the window as a secondary pane. Primary panes take over the entire length of the selected edge and force other docked panes that could intersect to become smaller to compensate. Secondary panes only take over the portion of the selected edge that is not already occupied.
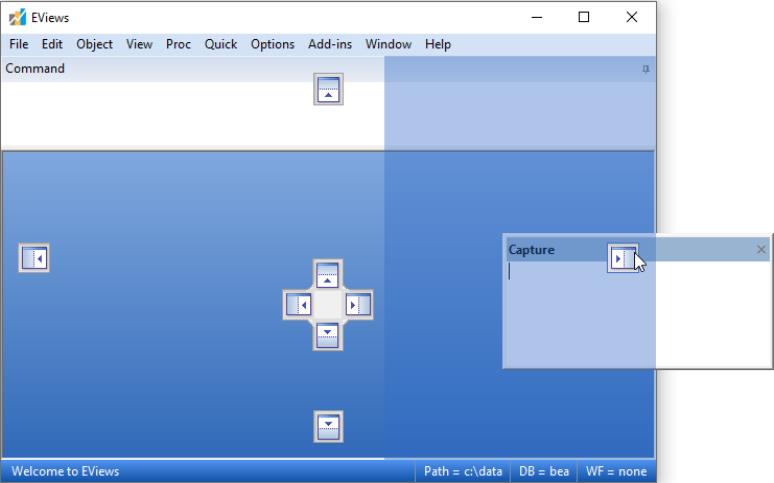
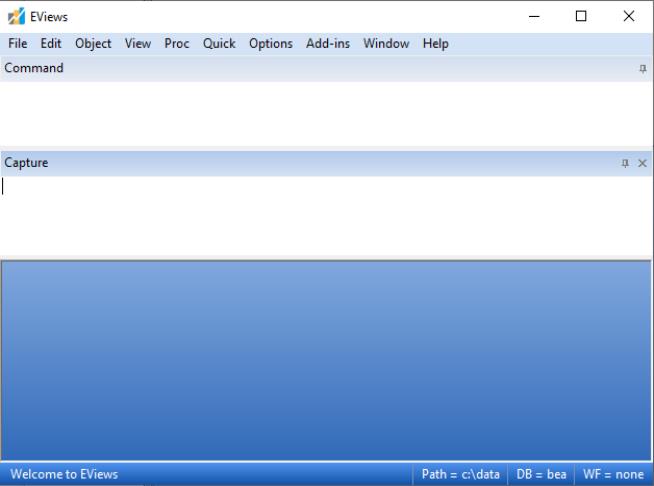
For example, if the capture pane is dragged to the right-most docking guide like this:
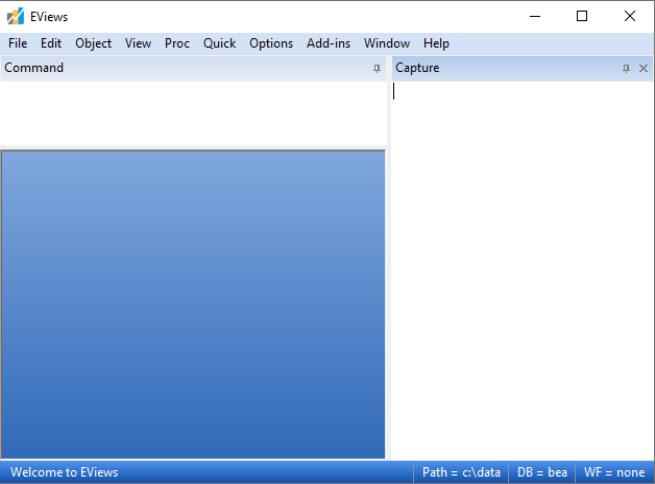
and then released, the final layout looks like this
Because it is primary, it pushes the docked Command window pane at the top of the window to become smaller.
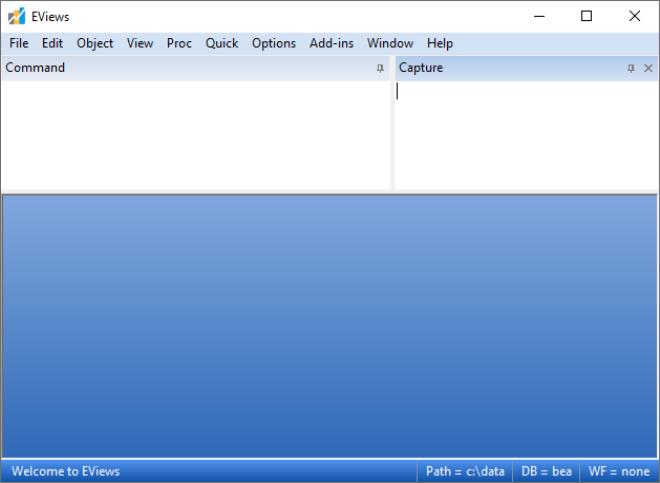
Alternatively, if the inner right guide was selected instead like this:
the final layout would look like this
Docking two panes onto the same primary edge can result in stacking, with the recently moved pane being adjacent to the edge (as the primary), and any secondary panes being stacked next to the primary pane (in the order they were docked).
You can also dock a pane inside another pane in order to use the share the same space. If you drag a pane over another pane, you are presented with additional docking guides inside the other pane:
For example, selecting the inner-right guide area allows the Capture pane to appear to the right of the Command pane with an adjustable split bar to let you resize the split:
The docking guide also offers an additional guide area directly in the center that allows you to convert both panes into a tabbed view:
Pinning
If your window is docked, you can “pin” it by clicking on the pin icon (so that it is horizontal). When pinned, the window will be minimized and a small tab will be displayed in the docked location.
To expand the pinned window, simply click on the tab. The window will automatically contracts when it loses focus. Clicking on the Pin icon again will “un-pin” and expand the window permanently.
Keyboard Focus
We note that as you open and close object windows in EViews, the keyboard focus may change from the command window to the active window. If you then wish to enter a command, you will first need to click in the command window to set the focus. You can influence EViews’ method of choosing keyboard focus by changing the global defaults—simply select in the main menu, and change the setting as desired.
Batch Program Use
You may assemble a number of commands into a
program, and then execute the commands in batch mode. Each command in the program will be executed in the order that it appears in the program. Using batch programs allows you to make use of advanced capabilities such as looping and condition branching, and subroutine and macro processing. Programs also are an excellent way to document a research project since you will have a record of each step of the project. Batch program use of EViews is discussed in greater detail in
“EViews Programming”.
One way to create a program file in EViews is to select . EViews will open an untitled program window into which you may enter your commands. You can save the program by clicking on the or button, navigating to the desired directory, and entering a file name. EViews will append the extension “.PRG” to the name you provide.
Alternatively, you can use your favorite text (ASCII) editor to create a program file containing your commands. It will prove convenient to name your file using the extension “.PRG”. The commands in this program may then be executed from within EViews.
You may also enter commands in the command window and then use to save the log for editing.